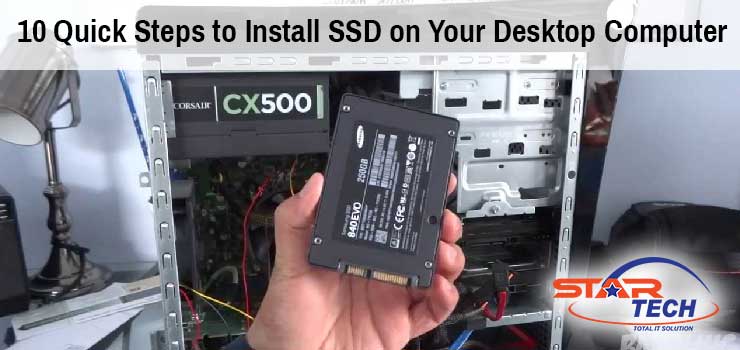
You must have heard about SSD (Solid State Drive) and how faster it is than traditional hard drives. If you know how to install SSD on a computer, you can do it by yourself without taking your PC to the shop and getting it done by the technician with extra cost and time. To install SSD on a desktop is a very easy task. Now we will discuss it in 10 easy steps so that you don’t miss anything or get into trouble.
How to install SSD on a computer
Here are the 10 quick steps to install SSD on your desktop computer:
1. Shut down your computer. Remove the power cord from the outlet.
2. Open the side of your desktop PC casing. Take help of a screwdriver if needed. See the manual that comes with the casing if you cannot remove the case cover.
3. Look for the storage or hard disk bays inside the casing. Most cases have 3.5-inch hard disk bays. But SSDs are of 2.5 inches. So you will need an adapter bracket or mounting bracket. Most SSDs come with it, if not, you need to buy one.
4. Find the holes on the SSD and line them with the holes of the mounting bracket. Screw the holes so that the SSD is attached to that bracket and doesn’t move.
5. Now fit the mounting bracket in the drive bay either screwing it or sliding it, based on the design of your case. 6. Locate the SATA power connector on the SSD and power supply. Connect the SATA power cable to the SSD. There will be a clicking sound once it is connected.
7. Your motherboard comes with some SATA cables attached to SATA ports. Take a free one (one that isn’t connected to hard disk) and connect the L-shaped end of the SATA cable to the SSD. See the manual of the motherboard to see which SATA port has the highest capacity (mostly the blue one). You should use that port to get the most out of your SSD.
8. If you want to install your operating system on the SSD and use it as your primary storage drive, you should disconnect the SATA cables attached to other hard drives until you install the operating system for the first time.
9. Check all the cables and connections. Replace the cover of the case.
10. Reconnect the power cable and turn on the PC. Install windows or other operating systems on the SSD. Or you can use the SSD as a secondary storage drive by neglecting the previous step.
Conclusion
ADATA, Intel, Kingston, PLEXTOR, PNY, Samsung, Transcend, Western Digital, Teutons, and Corsair are the top SSD brands. To find out more visit our collection of the latest SSDs in Bangladesh.


Comments
There are no comments for this Article.